
How to Flush Your Car's Radiator?
Published On Jan 20, 2016 05:27 PM By Ruchika
- Write a comment
As the impurities in our body fluids affect the proper functioning of our body parts, in a similar fashion, sludge in the radiator liquid degrades the engine's performance. Coolant acts as an antifreeze, protects it against corrosion and overheating of the engine.
So, how should one tend to the needs of such a crucial fluid? You must flush it out of your car radiator system regularly for maximum efficiency. Sounds like a child's play!! Well not exactly, but flushing your radiator is comparatively smoother than other maintenance tasks. How do you do that? We hope that the following step by step process will make it easy for you. But before that, collect the required tools and look for these warning signs:
- Low coolant light
- Smell of antifreeze in the car
- Leaking hoses or pipes
- Coolant in exhaust
- Leaking or corroded radiator
- Antifreeze leaking into oil
- Test your radiator cap to ensure it's in proper working condition
Tools to Catch Up
- Basic hand tools
- Utility knife
- Funnel
- Catch containers
Fluids Required
- Antifreeze coolant
- Radiator flush
Safety is Top Priority
Before you gear up to perform the task of the day, ensure that the engine is completely cooled down. You must pay special notice to hot parts, sharp tools, and other hazardous materials around your work space. Finally, when fun turns to frustration, or if the task requires specialised knowledge then turn to your mechanic. The last thing we want is someone getting hurt.
Before You Begin
We suggest that you keep some extra spare parts ready, if you haven't done that already. A need can arise any time and it is always good to be prepared. Also, being organised will cut down the effort to complete the job. So, keep similar parts close, secure and arranged. Arrange them in the same order you want to put them back.
Let us Start
- Secure the vehicle properly and apply parking brake. Find the correct catch container for your vehicle.
- Now lift the hood and locate the radiator. Place the catch container underneath the radiator's drainage valve or petcock. Isn't it simple?
![]()
- After carefully removing the radiator cap, open the drainage petcock at the bottom of the radiator. Let the liquid drain out.
- Now flush the radiator with water to remove any kind of residual in it. For this, close the drainage valve and fill in the radiator flush chemical using a hose. Start the engine and let it run until it is warm. As soon as it cools back down, flush the water in the radiator again. Repeat this step until the water runs clear.
![]()
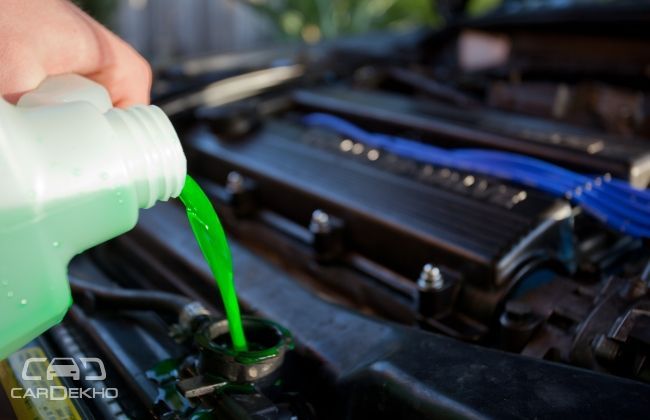
- When you feel that the radiator is clean, close the petcock and add the new coolant up to the fill line.
- Start and run the engine without the radiator cap. Top off the coolant to the fill line again, after all the air voids escape. Reinstall the radiator cap.
- Check your vehicle's maintenance guide, or visit your local mechanic for any confusion, or get the answers to all your queries on Cardekho. We're always happy to help.
Remember: Try to avoid spills during antifreeze disposal by using catch pans and trays. Avoid random disposal of antifreeze as it is toxic. Never touch a hot radiator cap. Proper recycling is a good practice. Try it.
1 out of 1 found this helpful


